
I'm going to be ramping up the
production of Audley's Workshop pieces for a bit, with three
different categories for subjects. I'll still cover reworking or
speaking about weapon/vehicle sandboxes from games (mostly Halo, with
some inclusion of Perfect Dark, PlanetSide, and the Unreal Tournament
series)...but I'm adding two other subjects: Halo map design and some
diving into League of Legends design.
Today will mark the launch of the Halo
Map design Audley's Workshop series: Reforged. There are tons of
maps in the Halo series people remember fondly. Some, they think are
great maps. Some, they enjoyed playing and tilted their head when
Forgers or other players called shit design. Others were just
god-awful maps.
For the Reforged series, I'll stick
mostly to the ones people enjoyed but became confused when the design
of the map was attacked by the more analytical or cynical crowds.
Coming from primarily a BTB background,
the first map I'm going to talk about is quite possibly the best
Neutral Assault map I ever played, but a map that I felt played every
other gametype subpar or poorly.
Rat's Nest
Before we get into talking about how to
make things better, we have to talk about what they did well and what
they did poorly.
As I said above, Rat's Nest was a
fantastic Neutral Assault map. No Halo 3 map felt more balanced for
Bomb than Rat's Nest.

A large part of this is the focus on
the inner areas of gameplay for moving the bomb – map control is
obtained by controlling the respective Kitchens (labeled “red base”
and “blue base” on the overhead picture above...they got the name
Kitchens from me in H3 BTB customs, which was a leftover callout from
PlanetSide for “the room behind the spawn room – where players
are cooked”).
However, if a team took control of your
kitchen but lost bomb control, you could simply take the bomb out the
back of your base, hop into a vehicle, and speed run it along the
outside of the base, offsetting map control entirely and resetting
the map.
If a team scored, the bomb respawned at
Rockets – an area with zero high ground, limited cover, and only
three routes out – toward windows (Plat in picture) or toward the
middle of the map. Often, teams who had just been scored against
would either spawn at their Windows (Plat) or near the entrance to
Mauler / at Sniper spawn. Either way, they were spawning in position
to contest the reset bomb, meaning a team that had just scored needed
to fight to retake map control, rather than easily snowballing into
multiple scores in a row (unless the matches were extremely
one-sided.)
Although vehicles were fairly dominant
in many of the Halo 3 BTB options, Rat's Nest kept them under
control. A large portion of this was the geometry separating the
streets from the kitchens and bases, leaving vehicles with very poor
options for sightlines or extremely risky routes if they wanted to be
aggressive for kills. Any player with a Plasma Grenade or good
timing on a highjack could end a vehicle run on their own.
In short,
- Map control could be reset any time the aggressor lost control of the bomb, whether arm attempt was successful or failed.
- A “back” route to the bomb plant which was actually faster than the inner route, but sacrificed map control.
- Bomb reset point is in the weakest point of the map, far away from any power positions and with very limited route options to move the bomb out.
- Strong central arena portion of the map dominated by infantry battles.
- Vehicles were fairly limited in power by map geometry separating outer ring from inner arena.
So what were the map's problems that
arose on other gametypes?
An overabundance of 90 degree angles
and CQB weapon choices (shotguns, Gravity Hammer, Bubble Shields,
automatics, Dual Maulers) meant that attempting to push through a
corner was a truly dangerous task. Additionally, the doors protruded
a bit meaning players could camp above the doors and surprise pushers
with SURPRISE DEATH FROM ABOVE as they ventured into a new room. The
only true counter to door campers was to use the Brute Shot to fire
barely around the corner, killing them or weakening them with splash
damage.
The aforementioned separation of the
streets and inner sanctum meant attempting to run vehicles to look
for kills in Slayer was useless unless the enemy Kitchen and base
were under your control, in which case players would spawn by Sniper,
at the elbow, and at windows, ripe for picking off by a Warthog or
Ghost patrolling the streets.
Unlike Assault, Capture the Flag tended
to be extremely snowbally at the top level, where once one team
managed to get control long enough to pull the flag past middle, that
control stuck long enough for back to back caps. Since map control
wasn't forcibly reset by the movement of the objective to a neutral
location, and spawning Windows would mean getting slain from players
on your balcony (seen as “Garage” on the picture), it was hard to
get back into a position to retake map control.

The exception to this rule was when
your team managed to spawn near Sniper, but even then you were left
with only a handful of options: 1) Push over Sniper area into the
main central area (where you have to overextend to get back into the
kitchens) 2) Push into the massive choke point known as the Mauler to
retake your kitchen. Or 3) Push over Sniper area into the enemy
Mauler, and either attempt to solo retake control of the enemy
Kitchen or push behind their base to their Balcony/vehicle spawn area
to attempt a sneak cap as they move back toward the center of the
map.
Laundry list:
- Everything is a 90 degree angle, which increases the potency of camping. (Reduced movement incentive.)
- Door geometry allowing players to hide on top of doors increases potency of camping. (Reduced movement incentive.)
- Combined with above two, a heavy focus on CQB weaponry leads to almost mandatory camping / lack of reasons to move in a stalemate unless Rockets are going to spawn soon.
- Vehicles have few options on how to break a stalemate, due to massive segmentation of the map.
- CTF is snowbally, due to never losing map control upon scoring and ease of spawn killing from major spawn areas during a scoring run.
- Retaking central control after losing is is extremely difficult due to required passing through choke points in order to do so.
So how do we fix it?
In Rat's Nest
case, a majority of the problems (90 degree angles, too many choke
points, too many CQB weapons, door camping) have really obvious
solutions.
Open up the
angles. Remove some CQB weapons. Widen some choke points. Flatten
the doors.
Fixing the potency
of vehicles and reducing the occurrence of multicapping in Flag will
require a more deliberate approach.
But before we get
into fixing the two major issues, let's do a little more focused
discussion on where to open angles, and which CQB weapons need to
stay.
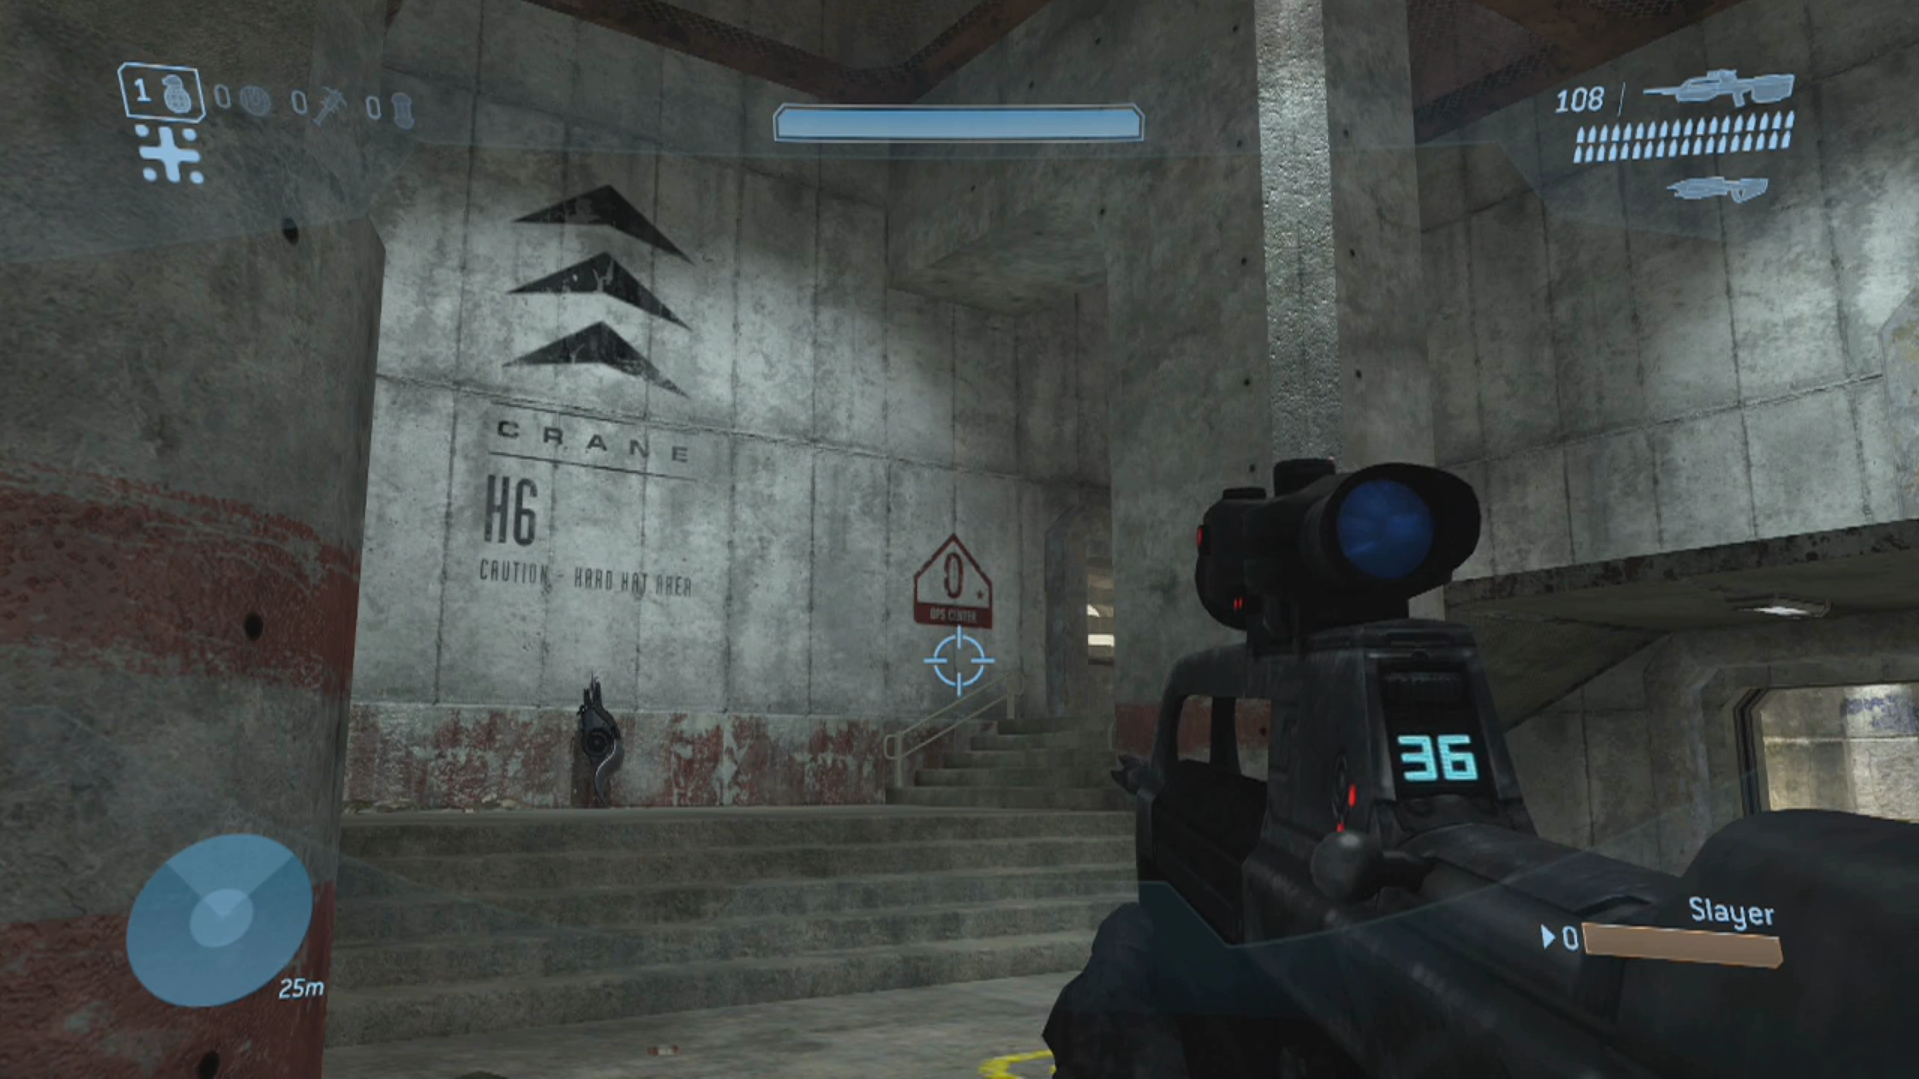
The biggest
offender is the entrance/exit to the Turret area of the map from the
Kitchen. Turret is the primary flanking area into the opposing
Kitchen, and thus the most important place to push (pushing across
bridge is a death trap due to being open to crossfire sightlines from
turret + Sniper with limited options to break both sightlines
simultaneously.)
In order to
improve the incentive to actually push from turret, rather than
stalemate camp the area, We can bust open that door and stretch the
entrance further toward the Brute Shot spawn, which will give the
pushing player more vision toward the back side of the kitchen as
they push. This encourages a team with confidence by giving them
more information as they push (more field of vision) and reducing the
amount of space a CQB wielder has to hide and use for an ambush.
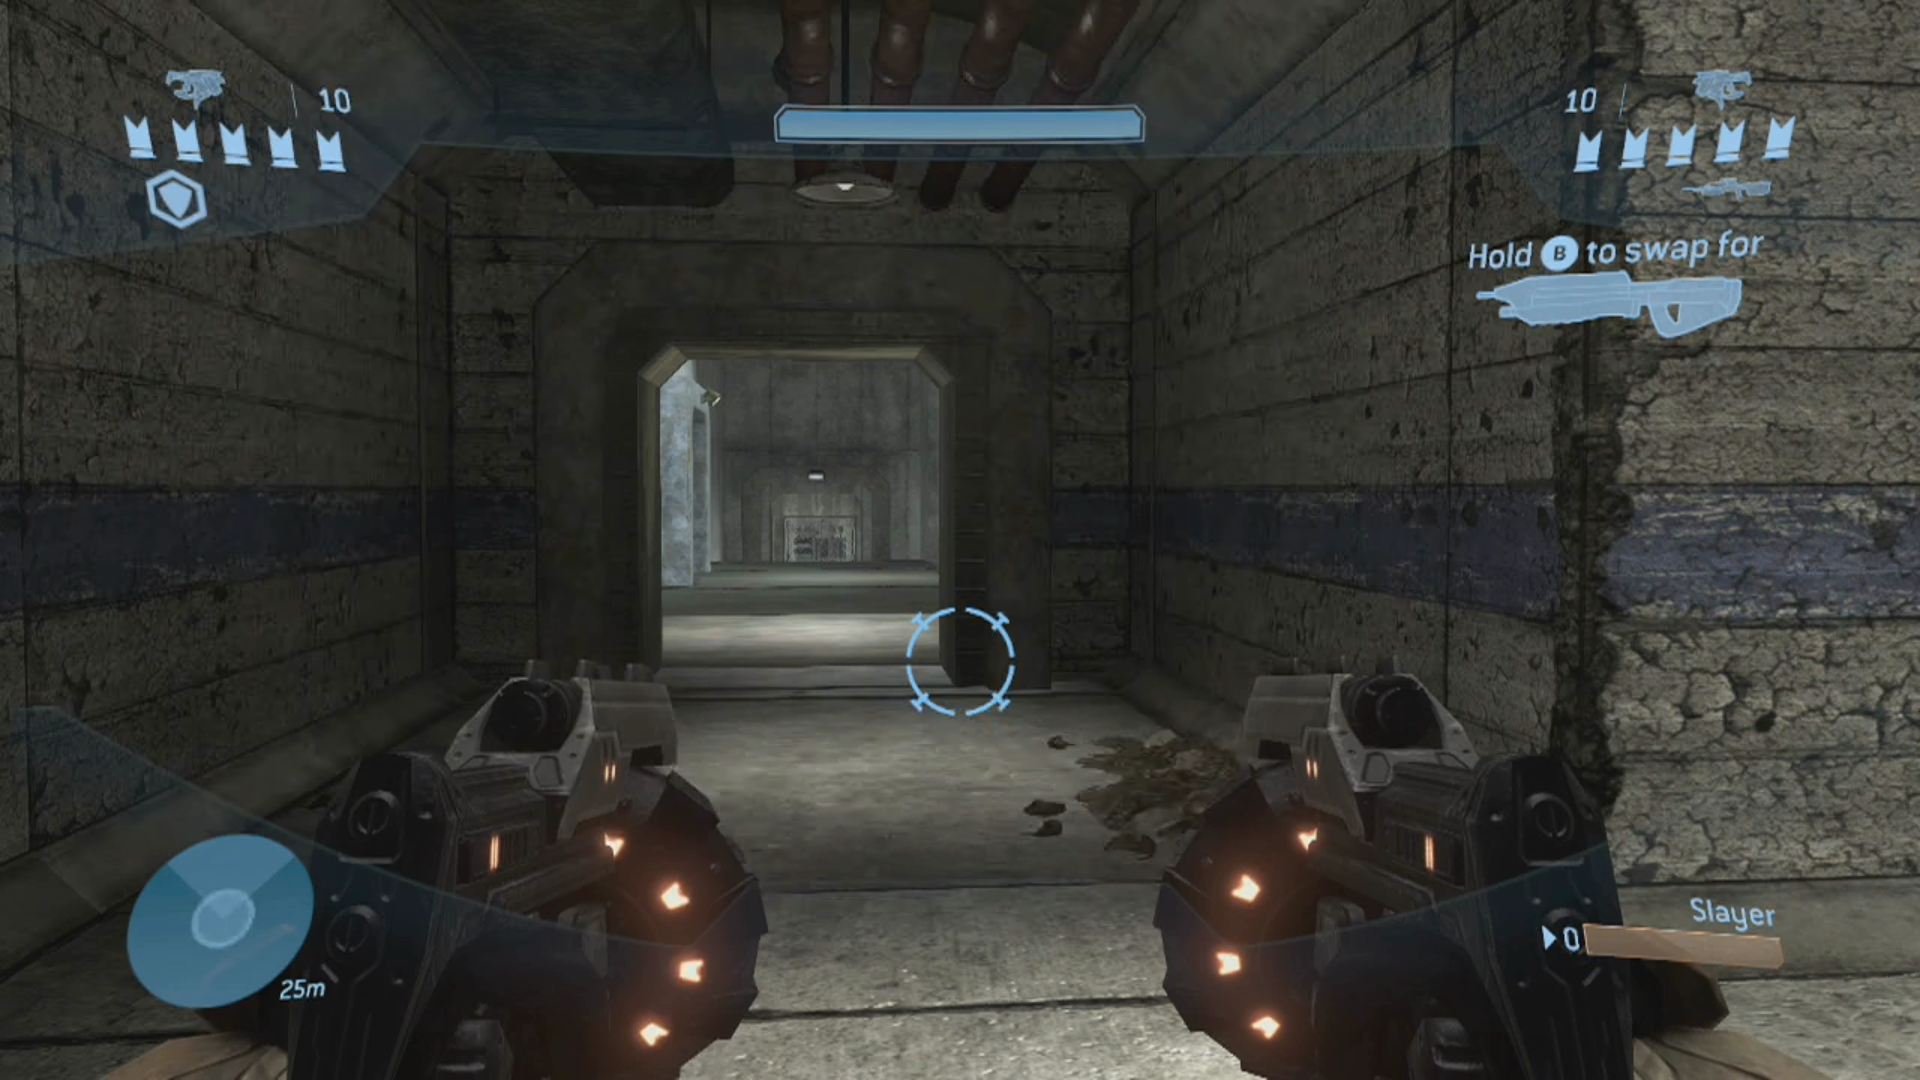
The second
offender is also the primary choke point of the map, the
Mauler->Kitchen door, directly across from the aforementioned
turret door. This is an area I feel should be greatly widened for a
couple of reasons.
With one of the
“safety spawn” areas occurring just behind the pictured player,
outside in the streets, this route is one of the primary routes in
order to attempt to retake your Kitchen, or reenter the fray after
being slain. Widening this area reduces the chances you'll be cut
off by grenades and further increases your ability to see the CQB
wielders who have taken refuge in your Kitchen.
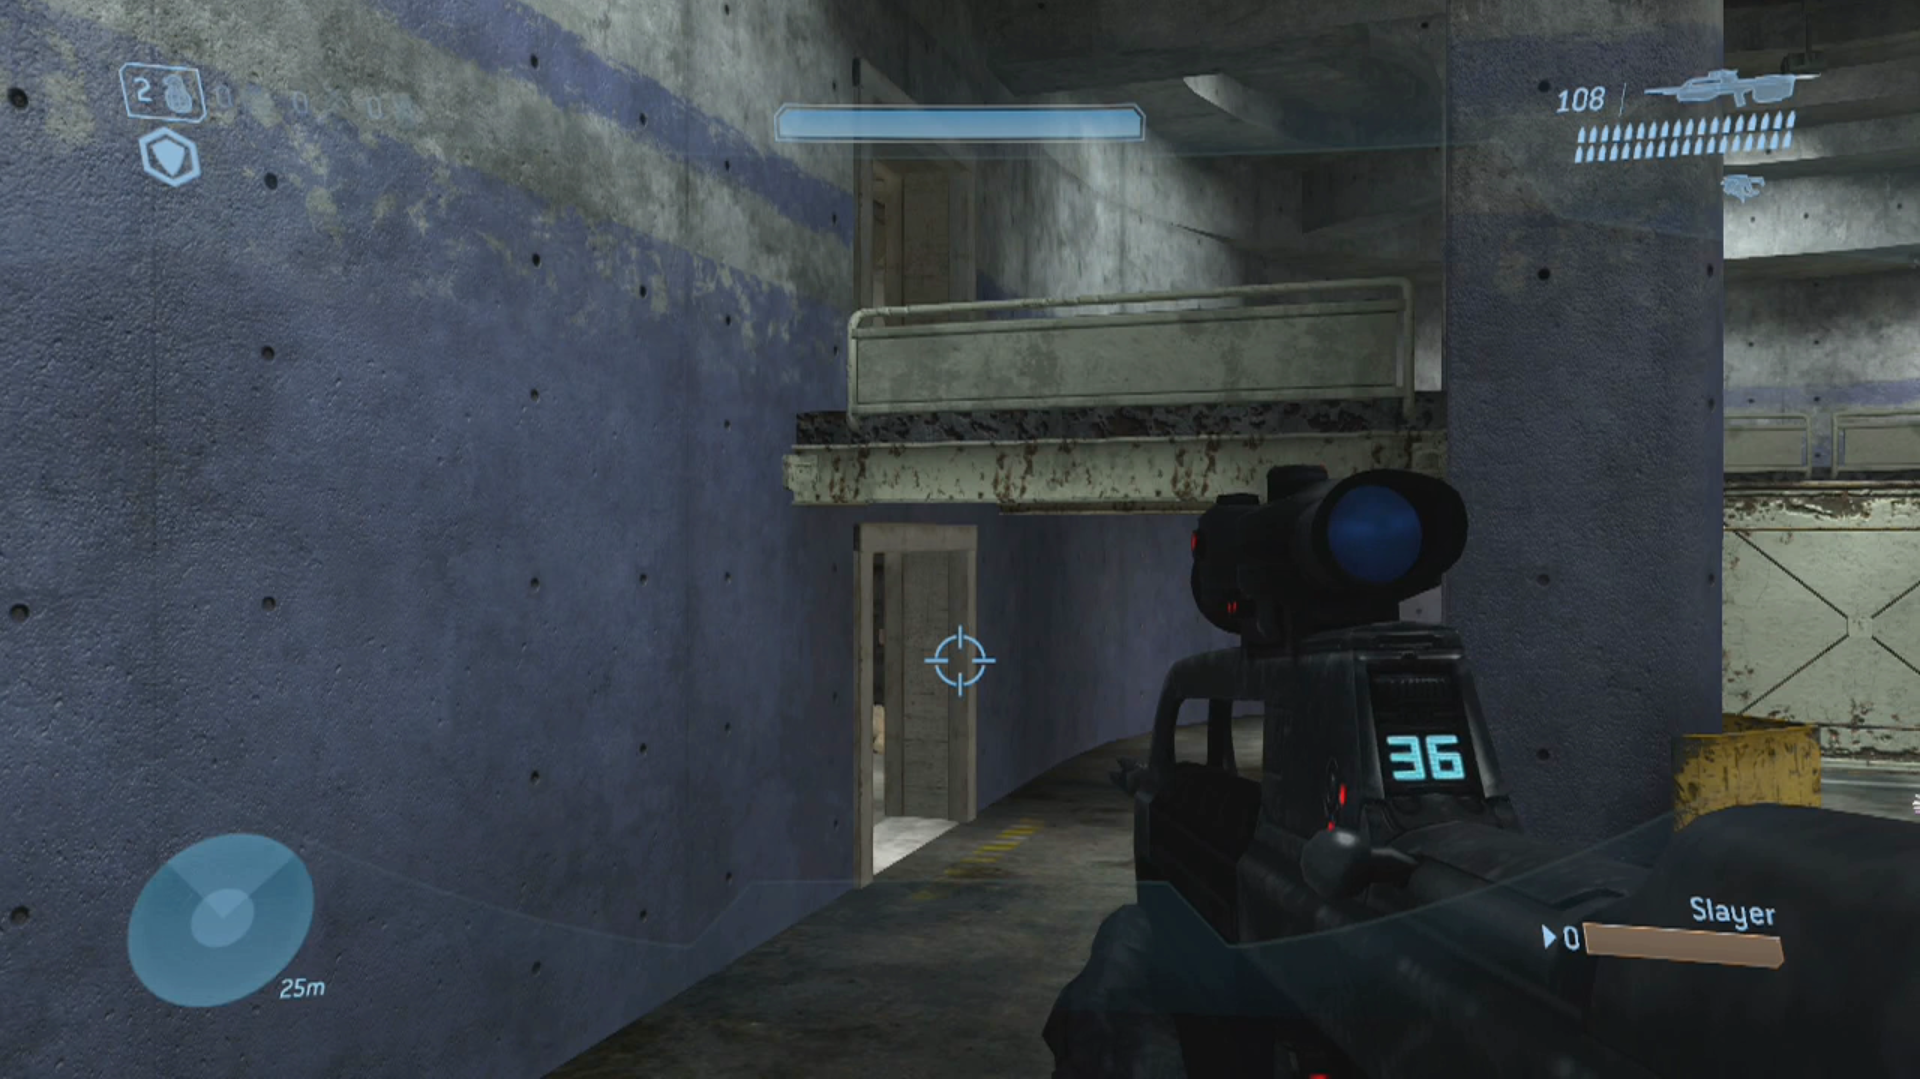
Finally, the
entrances to the Kitchen from your own base are also choke point
doors with areas to hide around the corner. Sure, you can bank a
grenade off the door frame to peg a player around the corner, but he
still has plenty of room to dodge and be prepared to take you down
with whatever weapon he and his teammates have primed.
In order to fix
this particular area, you could widen the bottom doorway in order to
increase the sightlines for players looking to push out or peek into
the Kitchen, or trim the frame and round off the square edges, giving
a bit more visibility around the corners as you prepare to push,
increasing the potential reaction time and increasing counterplay for
a camping Shotgun or Hammer played just inside the door.
So now let's talk
CQB weaponry.
Per side, Rat's
Nest has 2 SMGs, 2 Spikers, a Brute Shot, a Shotgun, and 2 Maulers
(both right next to each other). Each team also has access to a
Bubble Shield and a Regenerator in their Kitchen. On top of that,
the map features a neutral Hammer.
In total, the map
has 6 Shotgun-type weapons, 4 high RoF automatics, and 2 splash
damage explosives (not counting the power weapon of Rockets).
Personally, I
would remove all 4 Maulers and move the Shotgun from its place near
the center of the map into the Maulers' home. This would better
equip players coming off Snipe Street spawn into the Kitchen to fight
off players inside their kitchen, assuming the Shotgun was available.
The Hammer needs
to stay, as it serves a unique purpose of being an anti-vehicle
weapon inside Rocket street with its high physics impact carrying the
potential to launch vehicles off the cliff – countering bomb runs
or flag runs that took the risky road. It's also a viscerally
powerful weapon in general with a ton of satisfaction when used.
The SMGs and
Spikers on the map are somewhat superfluous with every player
spawning with ARs as their secondary weapon. SMGs' primary role in
the case of BTB use cases were as a counter to Banshees, while
Spikers saw almost no use for any reason. Either or both of these
could be cut without having any significant effect on the gameplay of
the map.
With a Bubble
Shield and a Regenerator both spawning in the Kitchen on short
timers, players carrying CQB weaponry were empowered further, as
their fast kill times could slay players within the field created by
the equipment. The Bubble Shield is good for defensive purposes in
Bomb, but in terms of pushing potential doesn't really enable
anything, especially in the case that you're pushing against other
CQB weaponry, as you're just giving them opportunity to get into
range by throwing down the shield on yourself. The Regenerator,
however, is much better for pushing, as it allows you to survive BR
fire as you move into position.
Pulling the Bubble
Shield back from the Kitchen can reduce some of the power teams
taking over Kitchens carry, whether they have CQB weaponry or not.
The Bubble Shield could be moved into the bases, at the old SMG spawn
location (upstairs along the wall), further encouraging its use as a
defensive tool for Bomb disarming or as a tool to protect from choke
point grenades as you push into your Kitchen.
Or, the Bubbles
could be placed in a location that helps alleviate one of the
problems I mentioned with CTF, where post-capture spawning typically
left players spawning at the Windows were susceptible to fire from
their balcony as they attempted to push back toward their base.
Place the Bubble Shield near the Windows (opposite from the Plasma
Grenades) to improve the chances for players to get back to their
base with a bit more safety.
And that segues us
into talking about how to improve the map's snowball situation for
CTF.
One major issue of
the Window spawn is that players only have two options upon spawning
there: Move toward your base (where enemy players are killing you) or
Move toward Rocket spawn (the weakest position on the map).
The ramps leading
down to rockets are a complete dead zone. You can only move forward
or backward when passing through. Adding an additional route from
here into either the Kitchen or the Base would drastically improve
map flow in this area, in addition to enabling players an option to
avoid the Balcony spawn campers.
Between the two
options, giving the route into the Base is probably the wiser option
– it avoids creating too much funneling into the Kitchen, and also
creates a new flag route option for a trailing team. While a leading
team will almost always want to run the flag through the Kitchens due
to the speed / safety of the route, a trailing team usually wants to
run the flag a back way, typically into a vehicle behind the base.
In this case, if a player is managing the sneak grab alone, he may
elect to take this path and look for reinforcements at Rockets, an
area of the map few are likely to venture to when the weapon is not
due to be up. If an enemy team groups to stop the capture from this
route, they are left out of position for map control and the trailing
team may set up to stop the bleeding.
With the Mauler
entrance to Kitchen also opened up, the snowballing in Flag matches
is alleviated as players have better options to retake their side of
the map, as the team with control of the interior is more exposed in
general.
But they're still
safe from the final problem I highlighted, which is the low amount of
options for vehicles on the map.
I don't
necessarily think this is a major issue existing on Rat's Nest, and
more a bit that gives the map a unique flavor. After all, once a
spawn trap is set up, the Warthog can dominate. And when a spawn
trap isn't set up, a lone wolf Ghost can score kill after kill
patrolling the outer ring for players picked off in the center of the
map.
However, for
players who find their BTB fun primarily when utilizing the motorized
portion of the Halo sandbox, Rat's Nest can be a frustrating
experience.
Minor improvements
could be made in order to help out a driver's life. For instance,
the “cliff” below Ghost spawn could be moderately reworked into a
ramp, improving vehicle flow through the center of the map and giving
players driving past rockets an opportunity to drive by or do gun
runs past the Kitchens, without the enormous risk of being forced to
stop, turn around, and reverse back to Rockets with ample time to end
up stuck by plasma grenades, flipped by other explosives, or
highjacked.
Although the doors
of the map are big enough for a Warthog to fit through, they could be
made just a bit bigger to encourage the true offroad terror driving
surprise of WHY THE FUCK IS THERE A WARTHOG RIGHT HERE?
Although not
NECESSARY, introducing a low route or open window into the Kitchen or
Base from Snipe street to give a Warthog gunner sightlines into the
area could improve harassment or route options for the wandering
tusked beast.
Regardless of the
flaws discussed here, Rat's Nest was a map that played quite well in
the context of Halo 3 at a competitive level. Despite accusations of
passive play, it was a Slayer map that rarely failed to reach the 100
kill marker, and CTF matches were always fast paced and exciting.
The map was just far superior for Bomb and failed to reach its
potential for other gametypes. The changes detailed herein could've
made the map a Classic, rather than just a “Oh I remember that
one.”
This concludes the inaugural Audley's Workshop: Reforged. Hope you enjoyed! Next visit to the Forge Workshop, we'll be talking about Lockout. (But I'll probably revisit the Armory next and talk about Armor Abilities.)
No comments:
Post a Comment